
Hello, Sumine here! This time I drew Lumine fanart in a cute sitting pose with a soft anime heroine vibe.
I created this Lumine illustration without using real photo references. Instead, I relied on the built-in 3D mannequin from Clip Studio Paint (CSP).
The main goal was to compare the results of using 3D mannequins versus real photo pose references.
Let’s jump straight to the sketching phase. (I didn’t include the mannequin reference here.)
Sketching Phase
At the beginning, I didn’t realize the canvas size was too small. This made the brush strokes look a bit odd, so I had to spend extra time adjusting my brushes.
For sketching, I mainly used the Pencil brush and occasionally the Mechanical Pencil for denser texture.
Rough Sketch
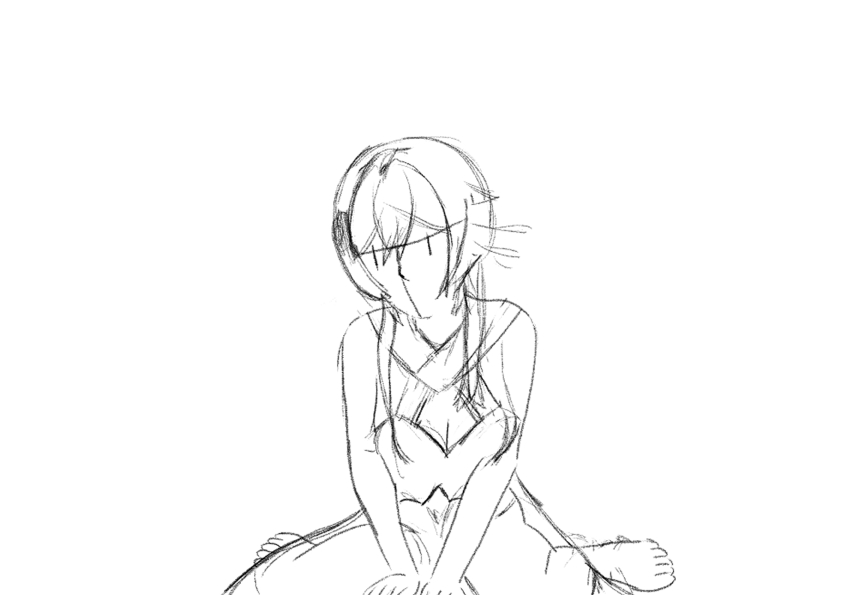
In this rough sketch, I skipped the basic block forms and directly traced from the 3D mannequin.
This approach speeds things up, but using a 3D model comes with some drawbacks:
- 3D mannequin proportions tend to look generic. Adjustments are needed to stylize them into anime or other art styles.
- Setting up the perfect pose can be time-consuming. If it doesn’t exist in presets, you need to build it from scratch.
Rough Details
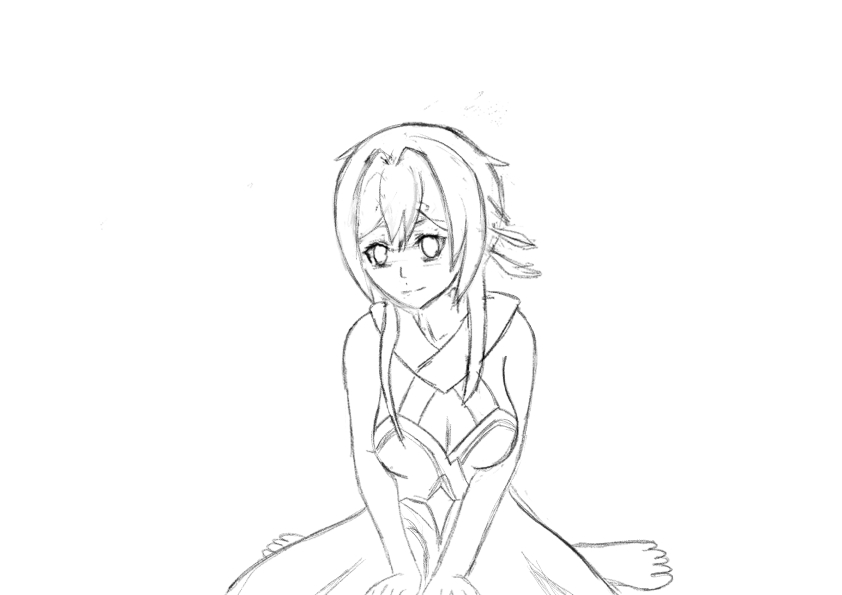
At this stage, I refined Lumine’s face and outfit details to make the design direction clearer.
Line Art
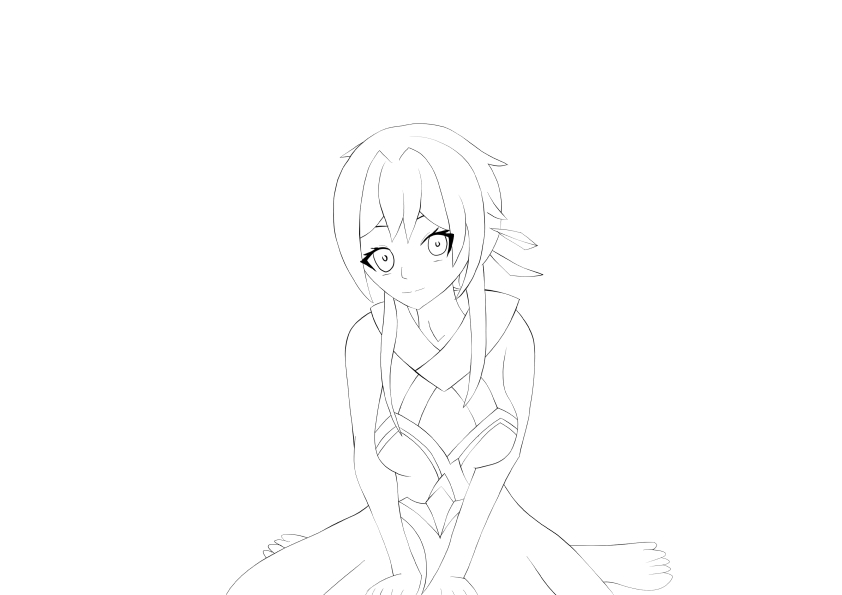
Moving on to line art, I used the Gpen on a vector layer. The main focus here was line weight variation for depth and visual interest.
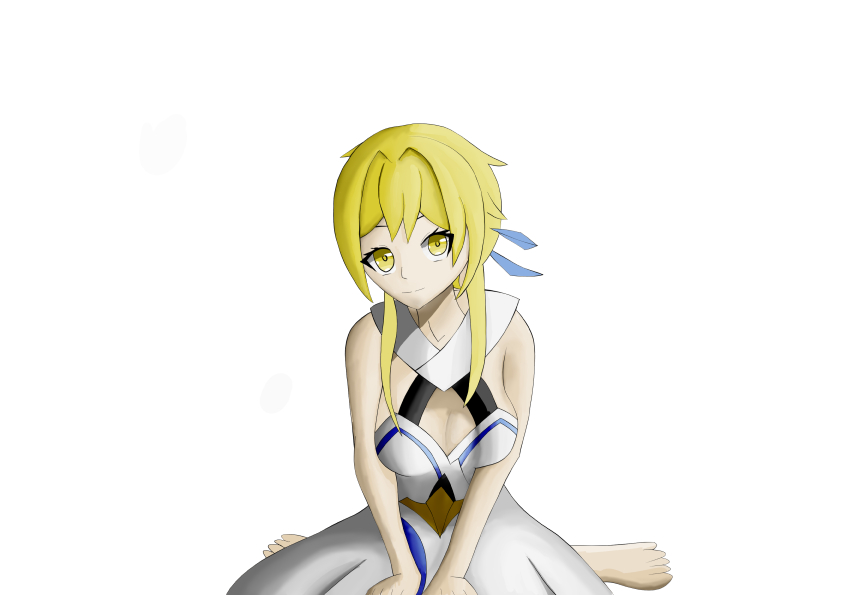
Coloring Phase
For coloring, I separated elements into multiple layers to keep the workflow neat and easy to adjust.
Base Colors
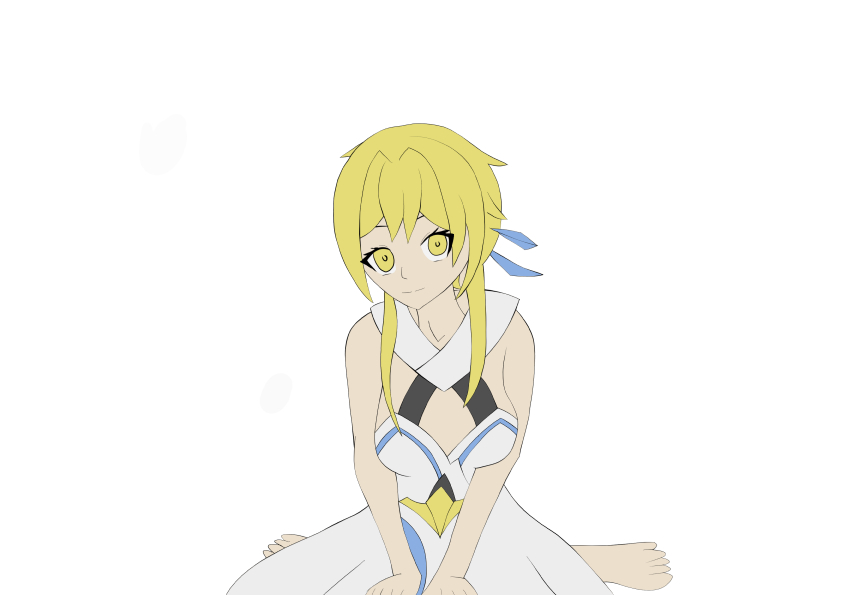
As seen in the timelapse, I tried using a darker base color at first, but eventually switched back to brighter tones that fit better.
Shadow #1
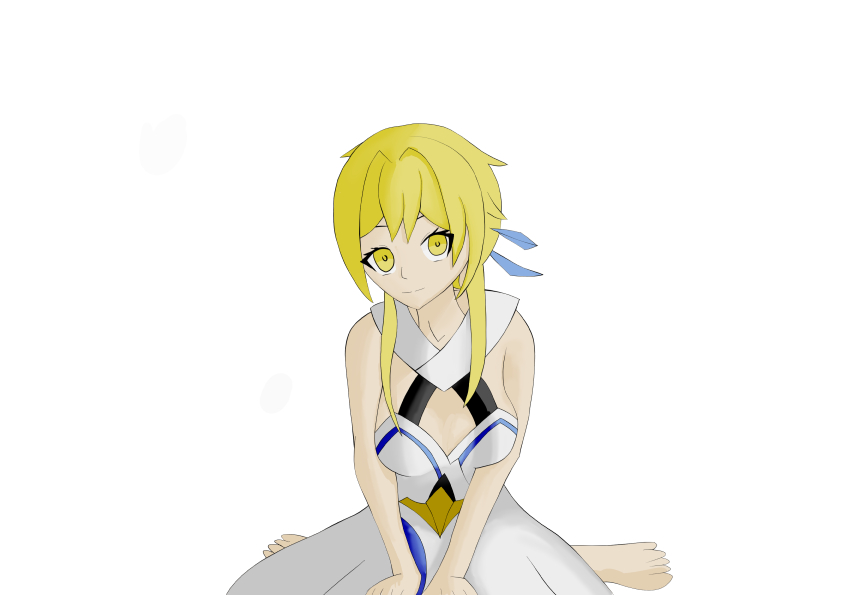
For the first shadow pass, I used a clipping layer above the base color with the Color Burn blending mode. The goal was to create stronger shadows without overpowering the base.
Shadow #2
For the second shadow layer, I used the Linear Color Burn mode to deepen the shading. I struggled a bit with applying it effectively on the clothing areas.
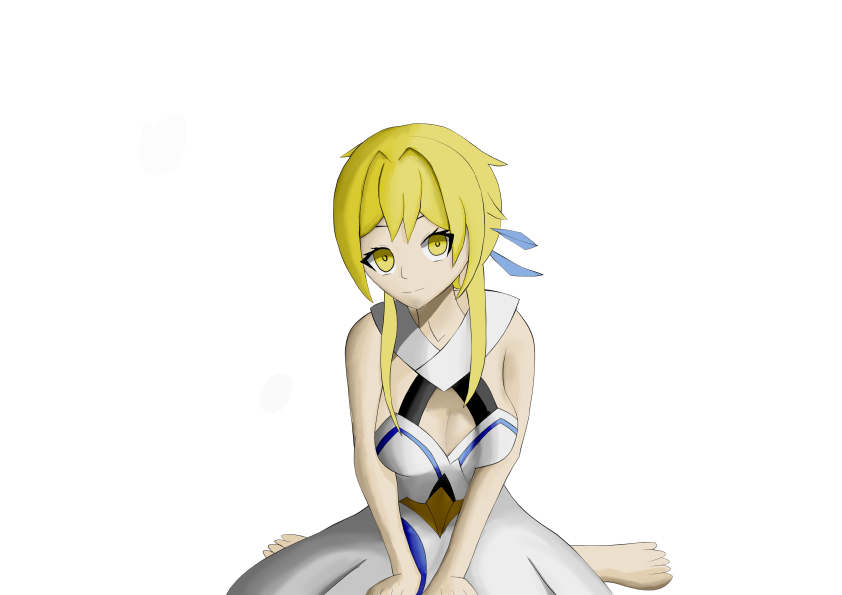
Highlights
For highlights, I applied the Soft Light mode. This was the final step in the coloring process.
I still have much to learn when it comes to finishing touches. But I’ll take it step by step—this is all part of my growth in digital art.
Final Notes
Tools I used for this Lumine fanart illustration:
- Device: Samsung Galaxy Tab S10 FE
- Software: Clip Studio Paint v4.1.1
- Character: Lumine (Genshin Impact)
- Reference: 3D mannequin from Clip Studio Paint
- Date: August 23, 2025
- Drawing Duration: ? (I forgot to set the timer and took frequent breaks since I wasn’t feeling well.)
Curious about the timelapse or want to check the raw file? Download it here.

Tinggalkan komentar